
What’s a vignette?
Pronounced “vinnyet” (not vignet), a vignette is basically those darkened corners you see in images.
Applying vignettes to Photoshop
Here are two ways to do it:
1. Go to Filter > Distort > Lens Correction…
There’s a vignette setting at the very bottom.
– OR –
2. Get out the Elliptical Marquee (M) and draw out a selection from the top-left to bottom-right corner of the page. We basically want the image to have an ellipse inside with it’s edges touching the edges of the page. Then you can do one of the following:
a. Go to Window > Actions then expand “Default Actions”, click on “Vignette (selection)” and press the Play button at the bottom.
b. Create a new Solid Color and make the color BLACK. Press Ctrl+I to invert the layer mask created then go to Filter > Blur > Box Blur… and apply the amount required (it depends on the document dimensions). You may have to tweak the opacity of the layer.
c. Create your own action to merge Steps a and b.
Sample vignette images

(sample file)
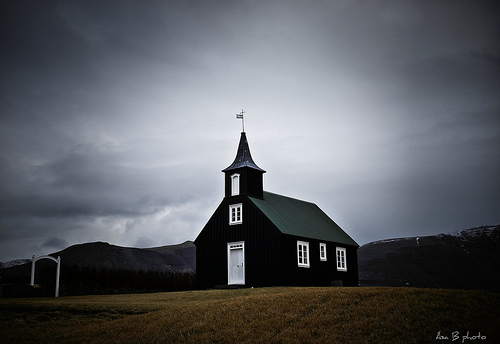
(http://www.flickr.com/photos/abvidars/4437842683/)
Blurred vignette
This post shows how to do a shadowed vignette. To do a blurred vignette, see these links:
http://www.tipsquirrel.com/creating-a-soft-focus-vignette-in-photoshop-cs5/
http://www.photoshopessentials.com/photo-effects/blurred-vignette-cs6/
http://www.dwphotoshop.com/photoshop/vinette.php